

System Settings
System Settings
System Settings apply to the entire company and affect all Users. Initially, they will need to be set up when creating the company account. However, adjustments can be made at a later stage.
View or edit System Settings
Note:
To be able to configure System Settings, you’ll need to have appropriate User Access to the Settings module.
To view or configure your System Settings, follow these steps:
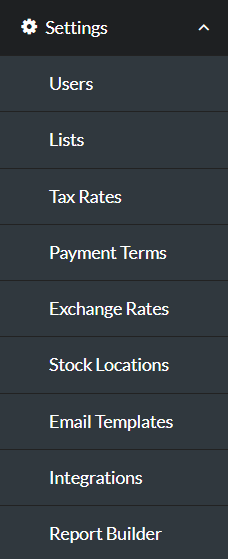
1. Using the main menu, scroll down to Settings.

2. Click to expand the Settings menu.
Note:
For assistance with each of the sections found under Settings, please refer to the related article provided below.