Quotes
Use the Quotes Module to generate new Quotes and send them to your Customers. You can also track the status of existing Quotes or turn them into Customer Orders.
Note:
Only current Quotes will be displayed in the table view. To view Quotes that have been won, go to Customer Orders. To view Quotes that have been lost, use the Advanced Search.

- Navigate to Quotes.
- Use the Quick and Advanced Search to help you find the Quote you’re looking for.
- By default, the most recent Quotes are displayed at the top of the page. To sort by something else, click on the column heading. Click again to reverse the sort order.
- The Quote Stage column helps you to keep track of each Quote at a glance.
- Click Add New to add a new Quote.
Note:
The Quotes Module is customisable so you can see the information that’s most important to you and your workflow.
Add a new Quote
Note:
To create a new Quote, you will need to have appropriate User Access to the Quotes Module.
1. Go to Quotes.
2. Click Add New in the top-right corner.

Tip:
You can also create a Quote from an existing Opportunity by changing the Quote Status to Quote.
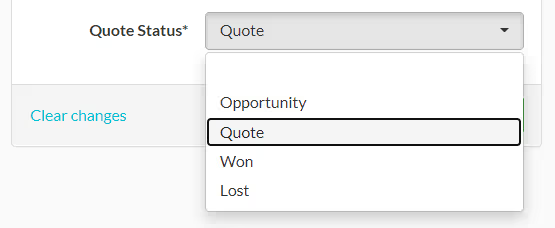
3. A new Quotes entry page will be displayed. Start by entering or selecting the details as required in the Quotes section.
Note:
You will need to complete all of the mandatory fields (marked with a *) before you can save the Quote. If you have created this Quote from an Opportunity some of the fields will be auto-filled with the information entered on the Opportunity.
Refer to Quotes field explanations for more information on each field.
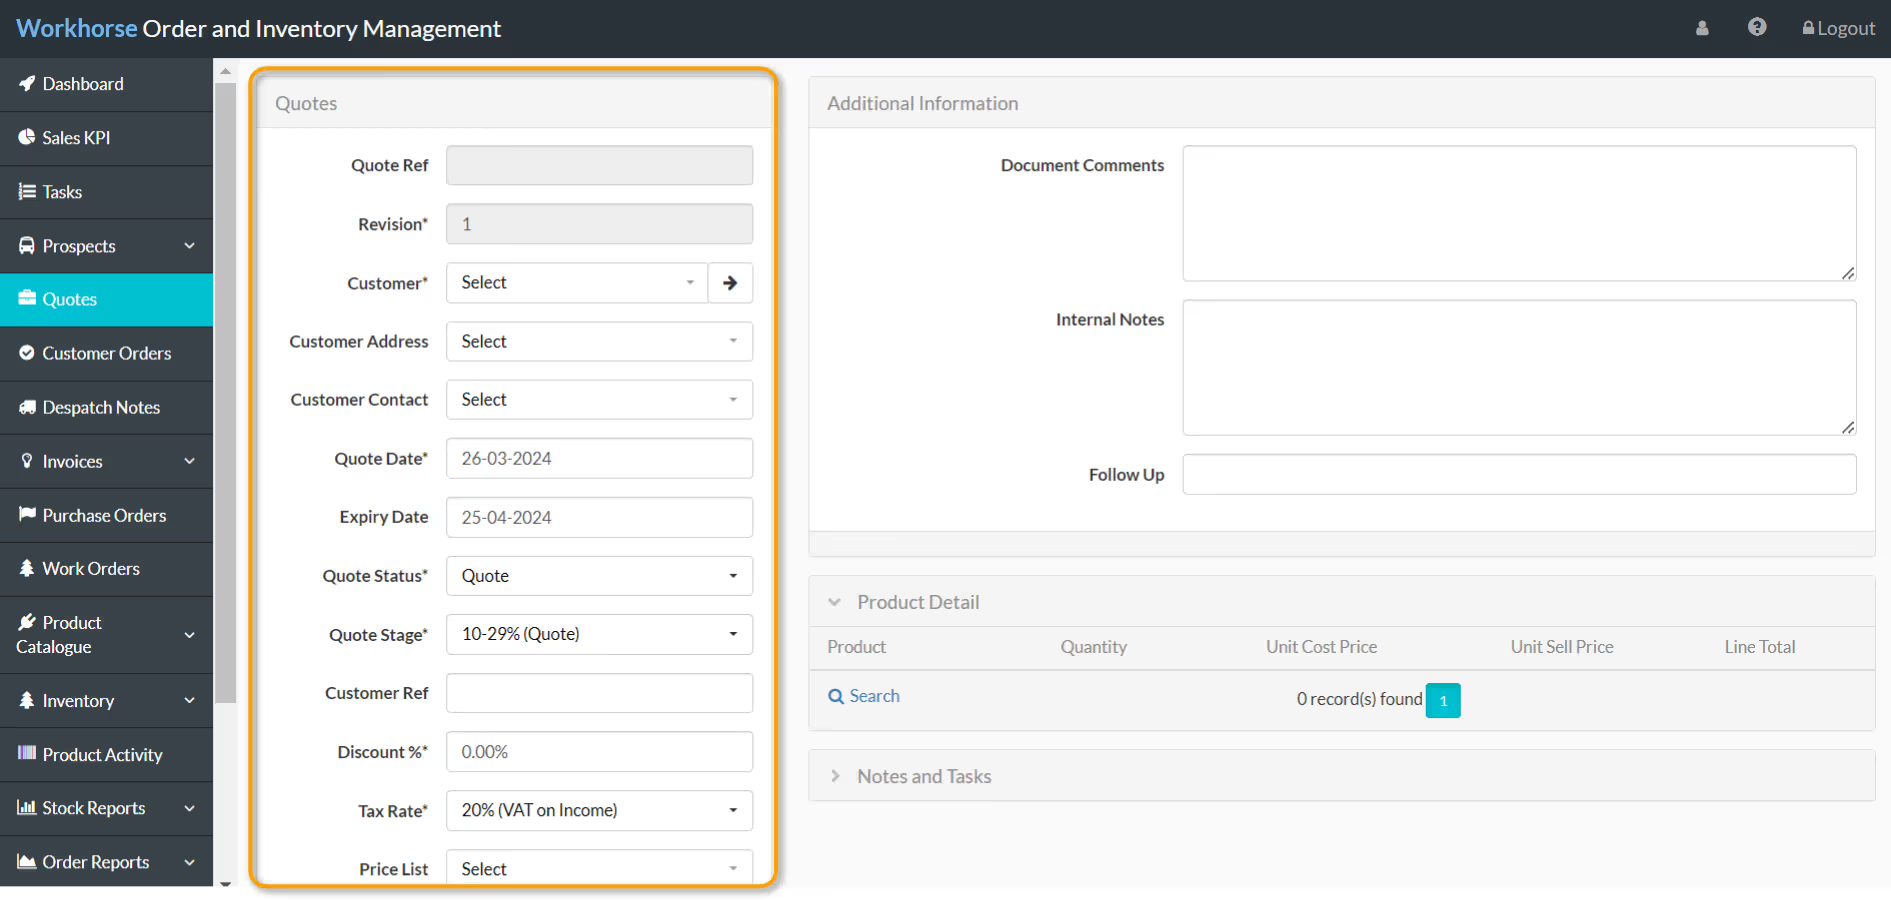
4. Once all of the required details have been entered and selected in the Quotes section, scroll down and click Save before adding any other information on the right-hand side.

Add other information to a Quote
Use the other sections of the Quote entry page to do the following:
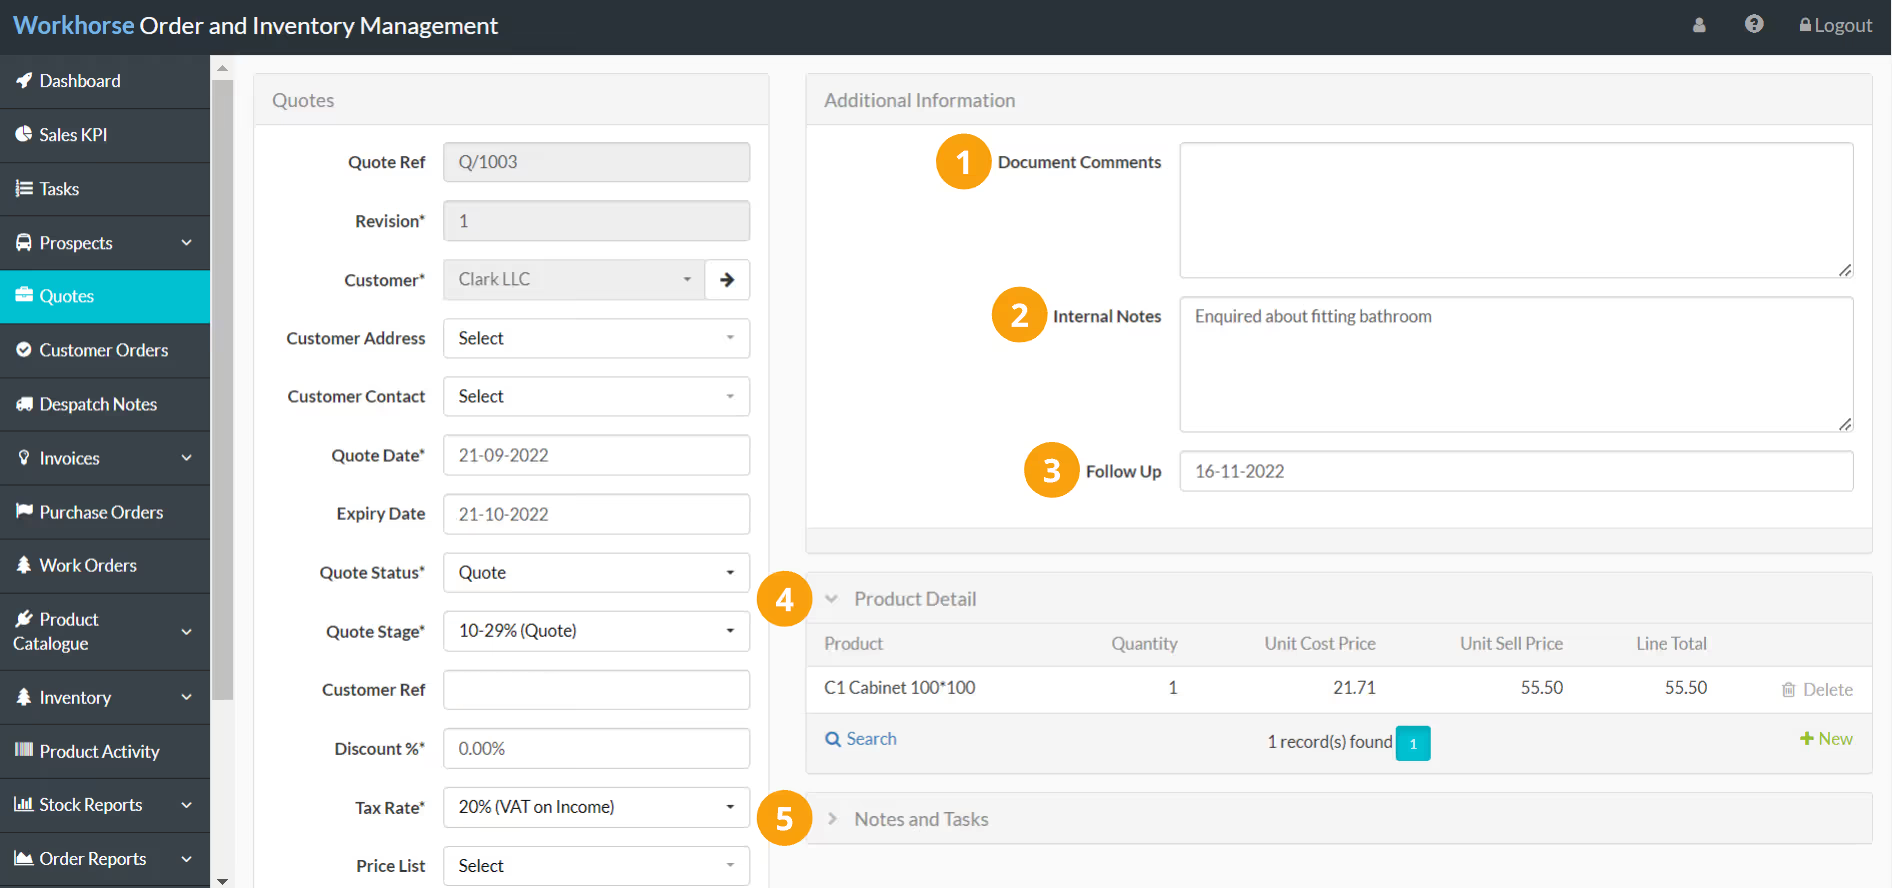
- Add Document Comments to add comments to your printed Quote.
- Add Internal Notes for reference. Notes entered here can be viewed from the Quotes Module table view.
- Set a Follow Up date for this Quote. This will appear as an event in the Calendar on your Dashboard.
- Add the Products your Customer has asked for under Product Detail.
- Add Notes and Tasks associated with this Quote and assign them to yourself or a member of your team.
Update the status of a Quote
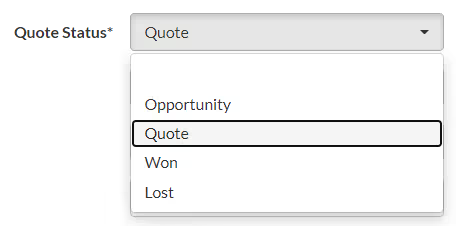
The Quote Status and Quote Stage fields help to keep track of the Quote. These fields are updated manually.
The Quote Status field is used to move through the Customer Journey Modules (from an Opportunity, to a Quote, to a Customer Order).
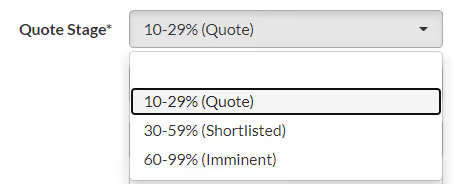
The Quote Stage field is used to keep an internal record of the progress of the Quote based on any communication received from the Customer.
Print or email a Quote
At the bottom of a Quote, click the Functions button to Print or Email a Quote.
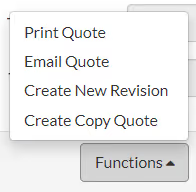
Selecting Print Quote will open a PDF of the Quote which you can save or print.
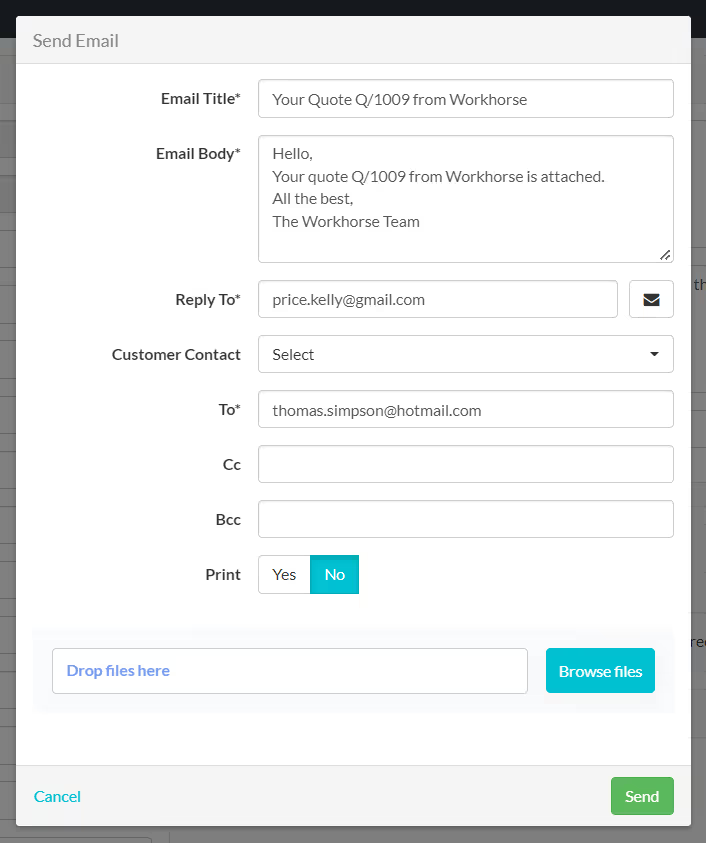
Selecting Email Quote will open the Send Email form. The Title, Body, and Reply To fields will be auto-populated based on your Quotes Email Template. The To field will be auto-populated with the Email saved on the Customer record. You can edit any of those fields or add files before clicking Send. This email will be sent directly from your Workhorse system.
Add a new Quote revision
At the bottom of the Quote, click the Functions button to create a new Quote revision. This allows you to keep a record of all Quote revisions (or versions) you send to a Customer.

Quotes field explanations
Did you find what you’re looking for?
Here are some related topics you might find helpful:


.svg)