Stock Transfer
The Stock Transfer feature allows you to record stock movements of Products and Assemblies between Stock Locations.
Note:
To record a Stock Transfer, you will need to have appropriate User Access to the Inventory Module.
Record a Stock Transfer
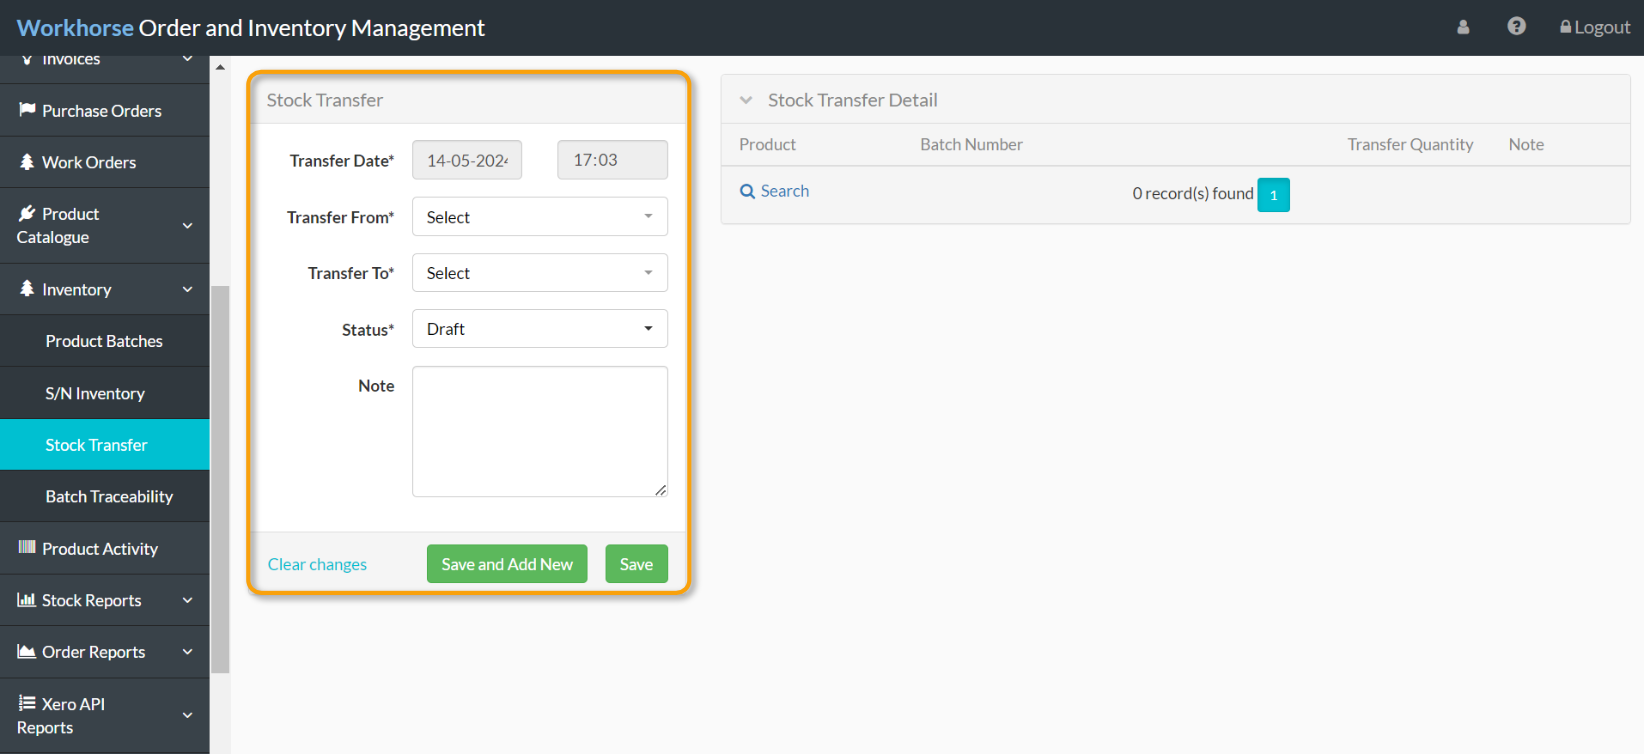
1. Go to Inventory > Stock Transfer.
2. Click Add New in the top-right corner.


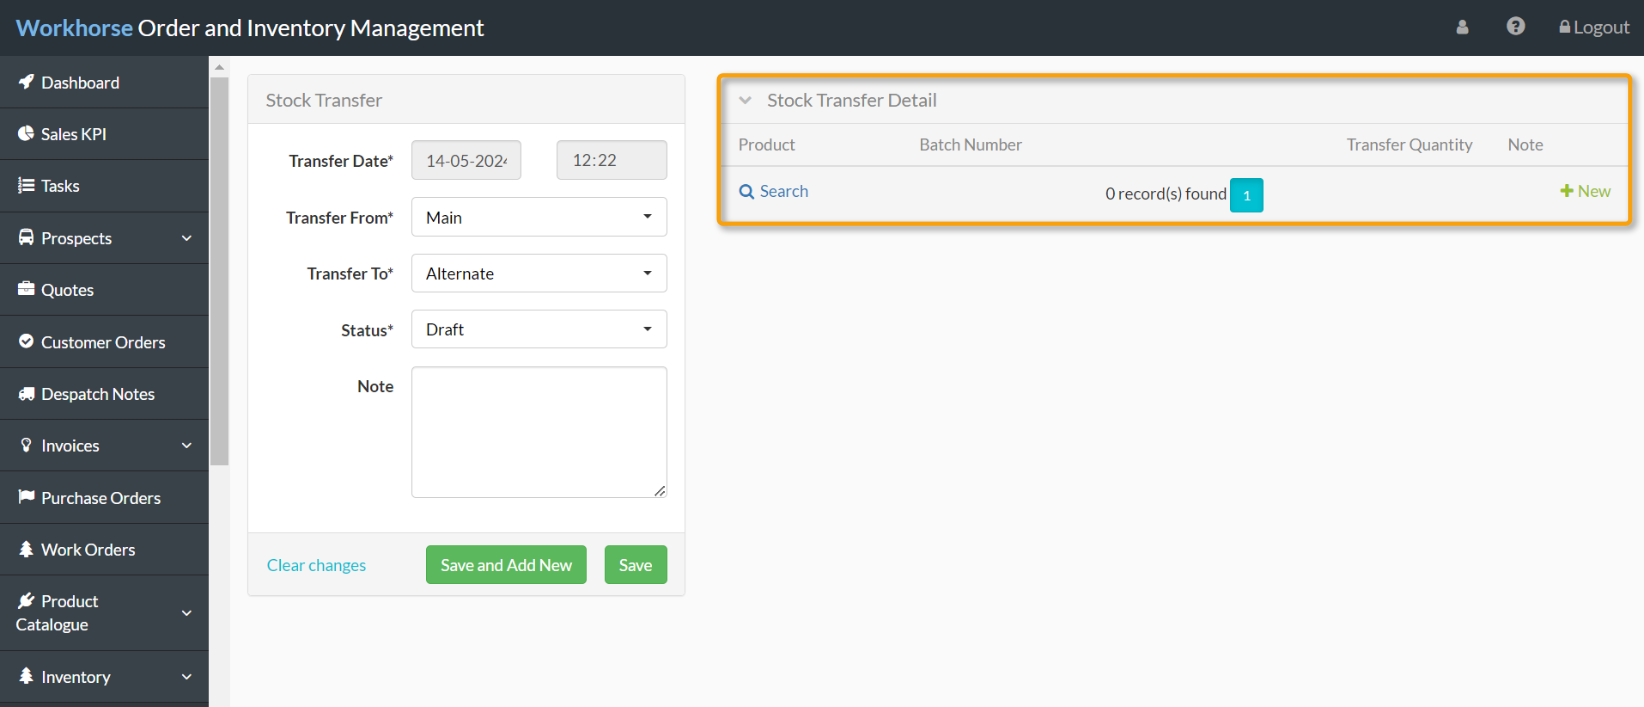
4. Once all of the required details have been entered and selected, scroll down and click Save before adding Products.

5. Under the Stock Transfer Detail section, click + New.

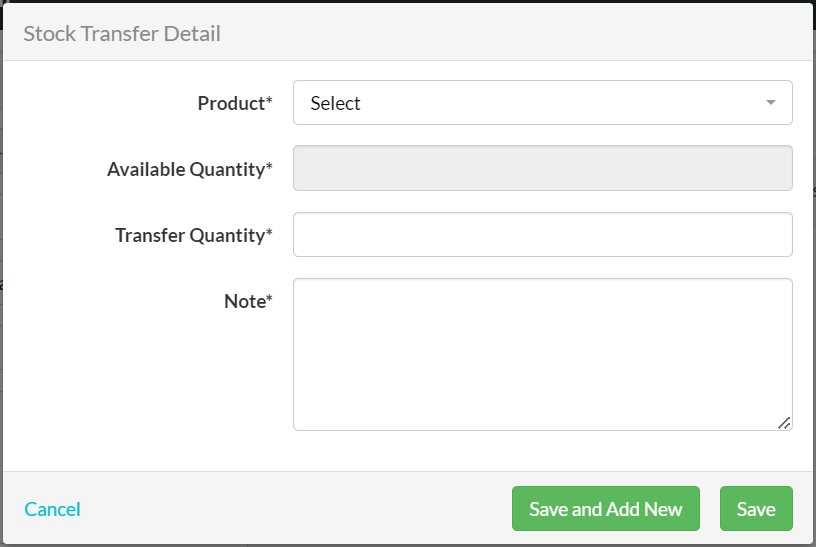
6. The Stock Transfer Detail form will be displayed. Select the Product from the drop-down list of Products and Assemblies and enter the Transfer Quantity. Add the reason for the Stock Transfer in the Note field and click Save or Save and Add New to add additional Products or Assemblies to the Stock Transfer.

7. Once all Products have been added, change the Status field from Draft to Complete and then click Save to complete the Stock Transfer.
Note:
Once the Stock Transfer Status is set to Complete and saved, the stock movements will be initiated. The Stock Transfer will then appear in Product Activity.
Did you find what you’re looking for?
Here are some related topics you might find helpful:
